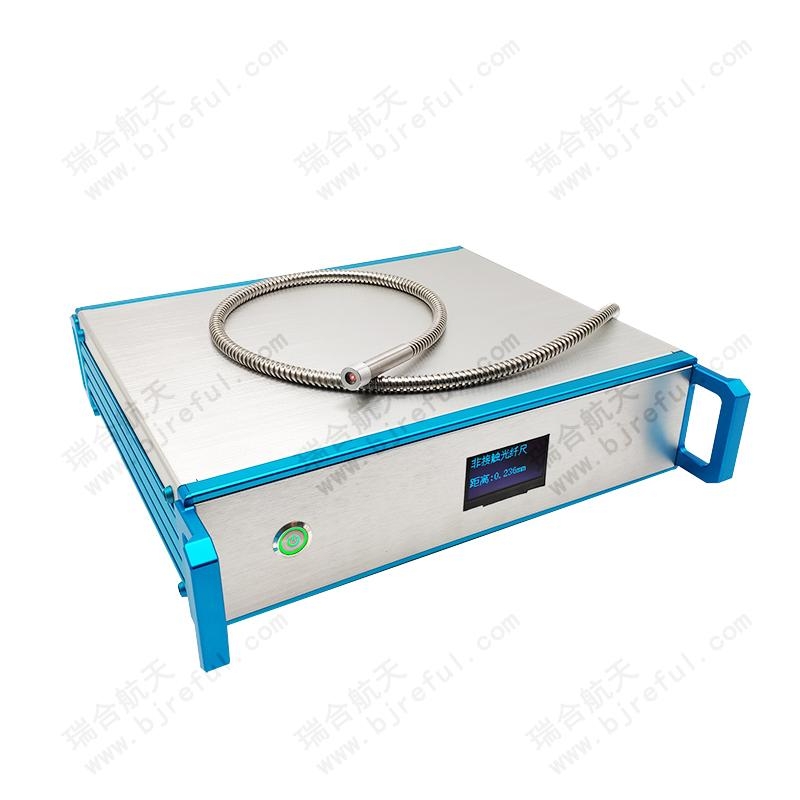
The non-contact fiber optic ruler uses non-contact measurement methods, which does not affect the surface of the measured object in use. The ultra-fine fiber bundle probe part of the non-contact fiber optic ruler can make the probe go deep into smaller spaces for measurement, completing the displacement measurement of parts that other sensors cannot complete, with a measurement accuracy of up to ±1um. The probe is protected by a stainless steel or ceramic sleeve, which has the characteristics of acid and alkali resistance, anti-collision, waterproofing, and high temperature resistance. Even if it is used in harsh environments, it will not affect its measurement accuracy.
     Non-contact fiber optic ruler soft fiber bundle pigtail part, with the outer coating of PVC stainless steel pipe protection, small bending radius, impact resistance. In case the user hooks or steps in the process of operation, it is not easy to break the risk of fiber. Users can completely use the wire construction method for assembly, construction is simple, convenient and safe.
      The non-contact fiber optic ruler can play its superior measurement performance in all kinds of fields that need non-contact measurement, such as: all kinds of material flatness measurement, fit gap measurement; displacement vibration measurement, etc. It can output data online, and on-line with computer, PLC or upper computer system, real-time analysis of data, to meet the user's various measurement applications.

Technical parameters


Measurement range:  0.2-3mm.
Display accuracy:       0.001mm.
Sampling rate:            >2 times/second.
Output mode:             OLED/RS232.
Power supply:             AC220V, 50Hz.
Power consumption:   <5W.
Instrument size:          320mm x  375mm x  90mm.
Probe size:                  φ 2mm, length 1m.
Operating temperature: 0-40℃.
Air humidity:                 <80%.


How to use


I. Input/output connection

1、Input power is AC220V, 50Hz for industrial frequency AC.

2、Measurement results are displayed on the OLED display with RS232 interface.

Remark:

1、Output signal is connected to computer through RS232 interface, which can be used for closed-loop control.

2、Display data is scaled with stainless steel surface. The reflective surface material is different, the result has systematic error, the user needs to scale and correct according to the fitting curve.


II.The measurement process

1、Check the surface of the workpiece to be measured to ensure that the surface is flat, bright and free of dirt.

2、 the fiber optic probe fixed to the work position, to ensure that the surface of the fiber optic probe and the surface of the workpiece to be measured parallel, and the distance between the two planes in about 1mm.

3、Touch the switch to energize, and the measured distance will be output on the OLED display.